
Last updated November 21, 2026
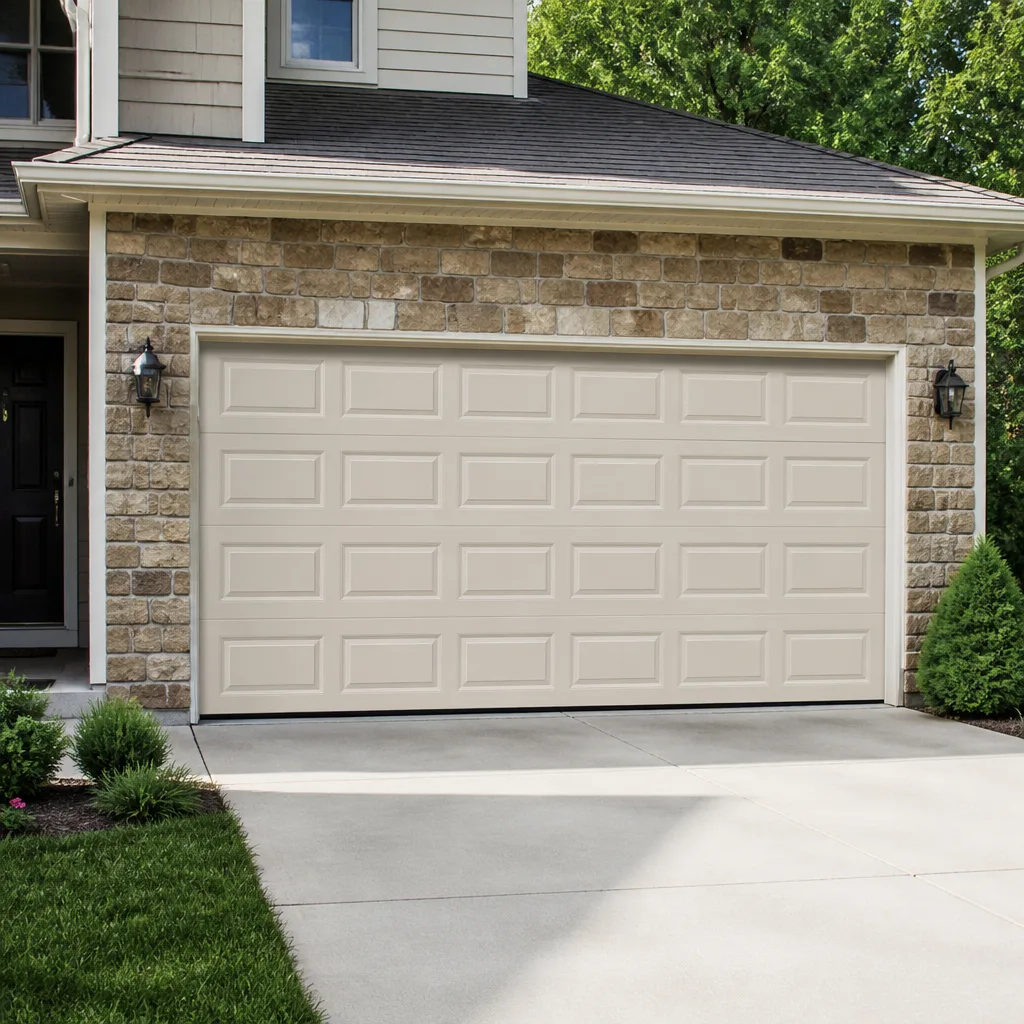 Raised-panel steel
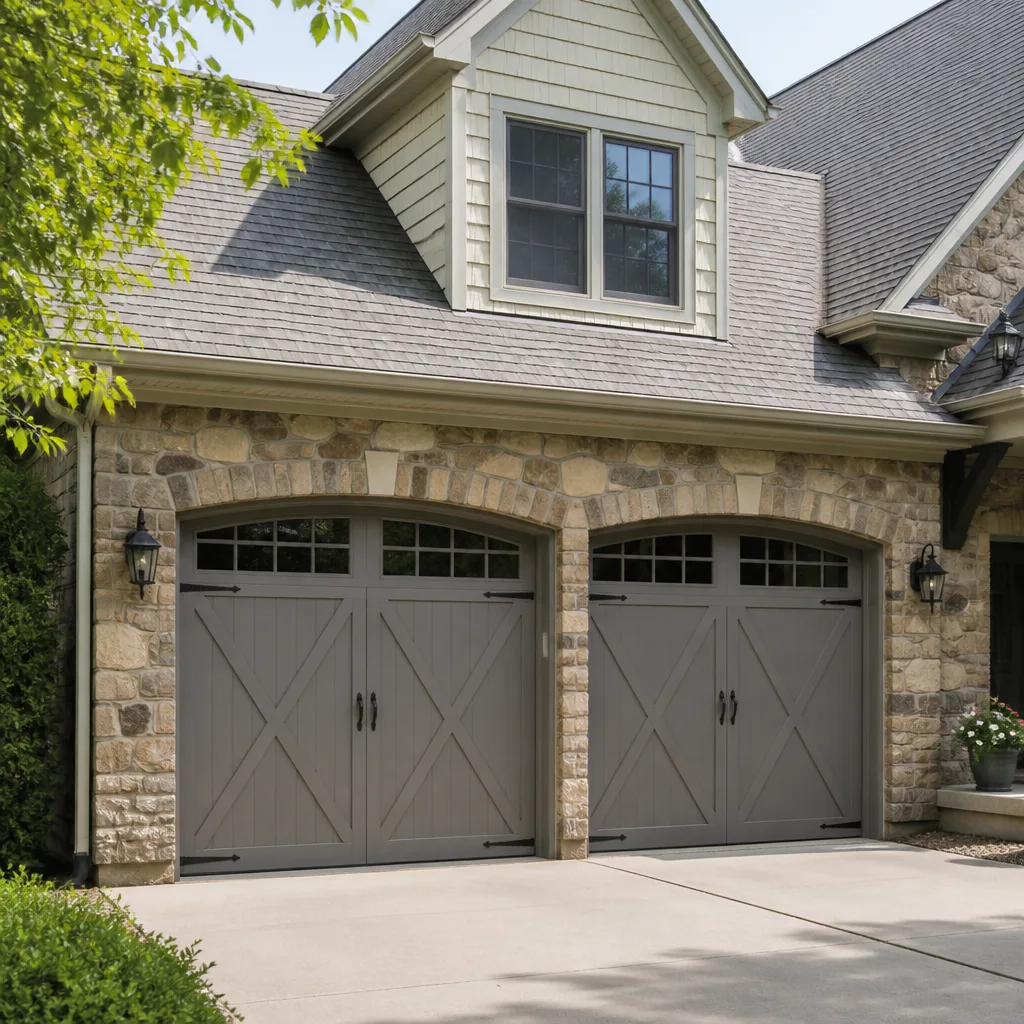 Carriage house
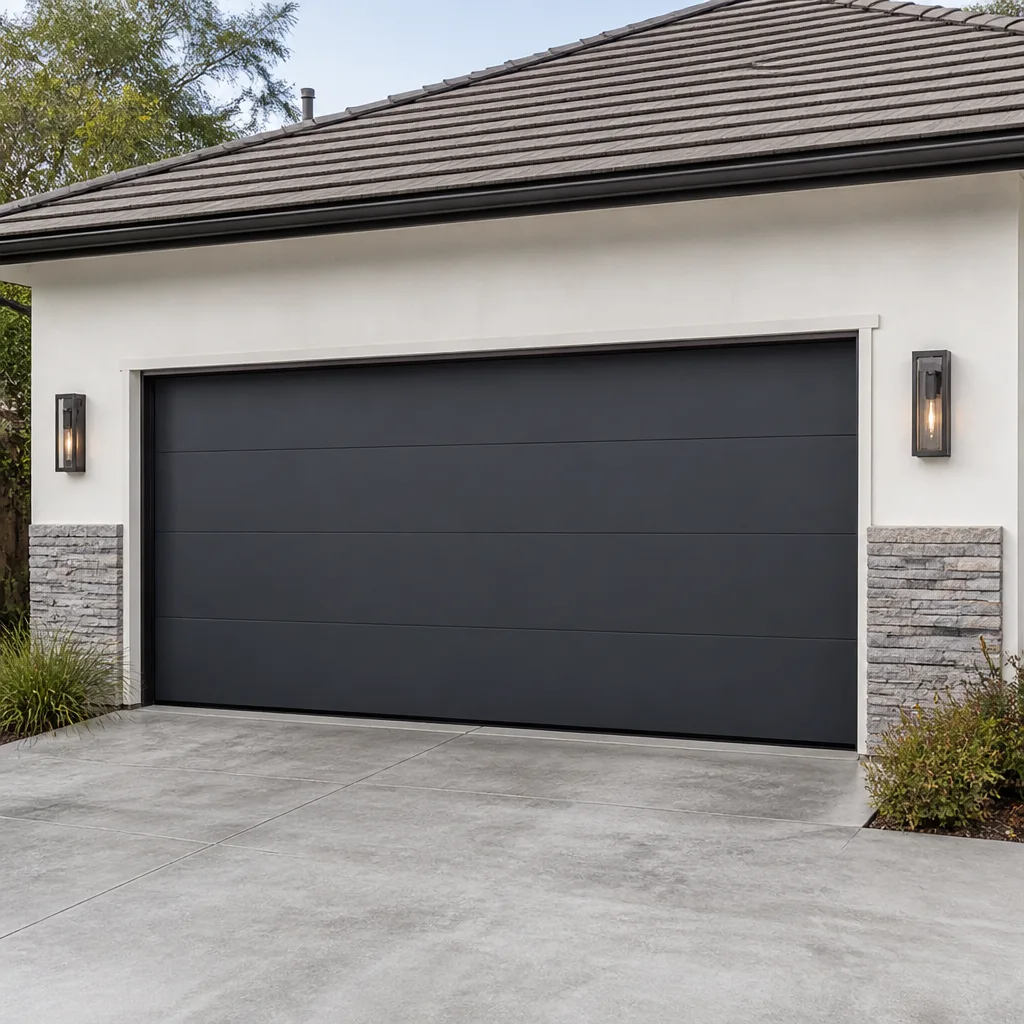 Modern flush
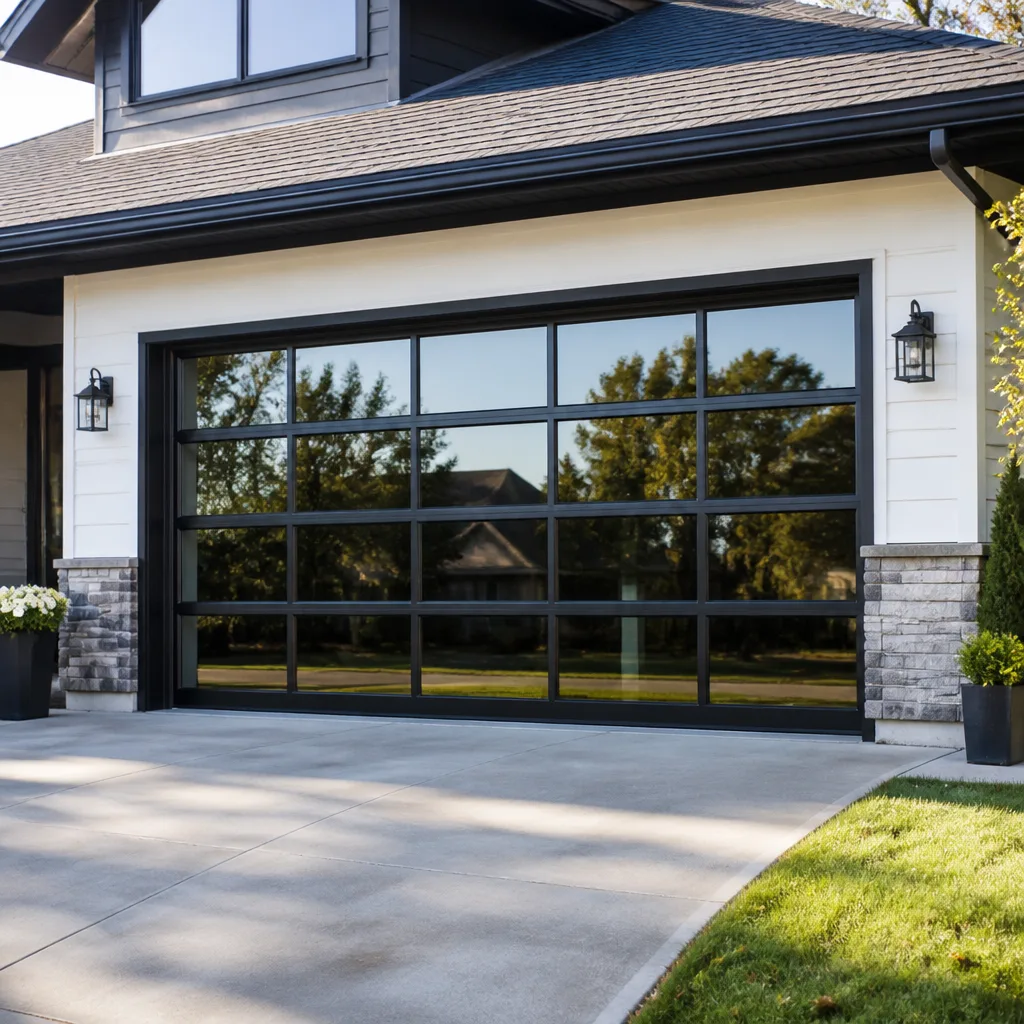 Full-view glass
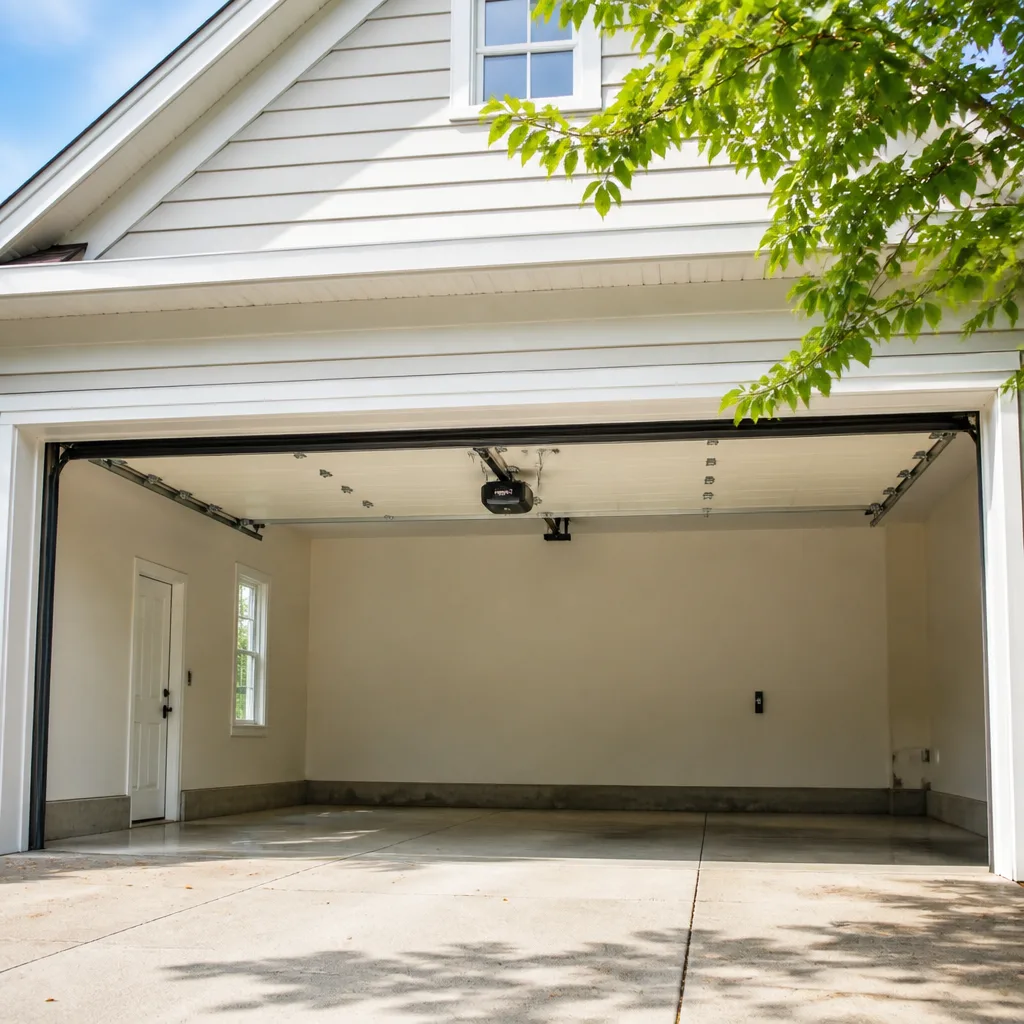 LiftMaster openers
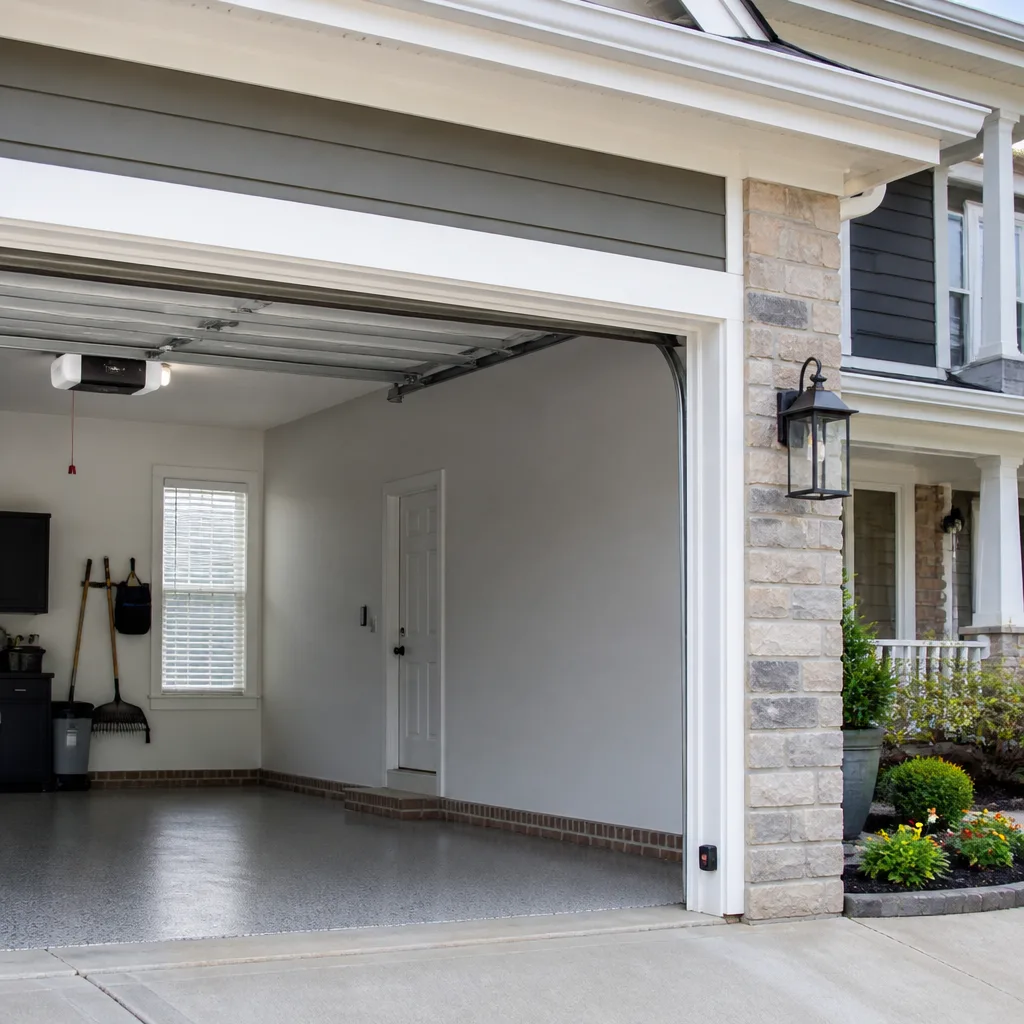 Chamberlain openers
Full 25-point door and opener safety check with every visit - springs, cables, rollers, tracks, and your LiftMaster or Chamberlain opener included
You get a price before we start. It does not change when the pro arrives.
Get your free estimateGarage Door Repair Maintenance Checklist for Daytona Beach Homeowners
Most garage door maintenance advice floating around online was written for a climate that doesn’t exist here. Twelve-step lubrication routines, freeze warnings, “winterize your door” checklists, none of it maps to a place where the real enemy is humid summer air and the one-two punch of storm season. The parts that fail in Daytona Beach fail for specific reasons, and once you know what those are, a maintenance schedule stops being a chore list and becomes a repair-avoidance plan. This guide gives you a calendar built around our actual seasons, the lubricants that survive here, how to inspect for storm-readiness, and a photo-log system worth having when you file a claim.
Quick Answer
The most effective garage door maintenance checklist for Daytona Beach runs on a seasonal calendar, not a generic one: inspect and lubricate in the dry spring window before storm season, do a full storm-readiness check including the bottom seal and weatherstripping ahead of hurricane season, then inspect everything again after any major storm passes. Monthly, a five-minute visual and listening check catches most problems while they’re still cheap. Twice a year is the minimum for lubrication and hardware tightening.
Styles & brands we work with
- Raised-panel steel
- Carriage house
- Modern flush
- Full-view glass
- LiftMaster openers
- Chamberlain openers
Table of Contents
- Why a Generic Checklist Fails in Daytona Beach
- The Month-by-Month Maintenance Calendar
- Which Lubricants Work Here (and Which Make It Worse)
- Inspecting the Bottom Seal and Weatherstripping for Storms
- Spring Lifespan Benchmarks for Storm-Boarding Households
- Building a Photo Log for Insurance and Repair History
- The Hardware and Opener Checks Most People Skip
- What You Should Never Inspect or Adjust Yourself
Why a Generic Checklist Fails in Daytona Beach
National maintenance guides assume a door lives in a temperate, relatively dry environment for most of the year. Daytona Beach is not that. We run high humidity through much of the year, a distinct storm season, and mild winters that never really shut down moisture. The result is a failure profile that looks different from what you’d read in a generic how-to.
Here’s what actually goes wrong on a Daytona Beach garage door, in rough order of how often we see it:
- Moisture-driven rot and corrosion start at the bottom. The bottom seal and the lower panel sit closest to the floor, where humidity collects and where water sits after a heavy rain. A seal that stops sealing lets moisture creep upward behind the weatherstripping.
- Lubricants thin out and migrate. Heat and humidity make some greases run off the moving parts they were meant to protect, leaving rollers and hinges dry.
- Grit gets trapped. Sticky lubricants grab airborne dirt and become an abrasive paste on tracks and rollers.
- Cycles spike during storm season. Boarding up and un-boarding means repeated up-and-down cycles concentrated into a few weeks, with long idle stretches between storms.
- Winters stay wet enough to keep rust moving. Mild doesn’t mean dry. Metal parts that got scratched in the fall keep corroding through the winter.
None of that shows up in a “lubricate every moving part twice a year” checklist. It’s the reason we build maintenance schedules around seasons here rather than around a calendar that assumes four equal quadrants. If you’ve been following a generic routine and still find yourself searching for Daytona Beach garage door repair pros every few months, the schedule probably wasn’t the problem. The climate fit was.
The Month-by-Month Maintenance Calendar
The right way to maintain a garage door in Daytona Beach is to time tasks around what the weather is doing. Hurricane season, the dry stretch, and the humid buildup each create different risks, so the checklist changes with them. Here’s the schedule we recommend to homeowners, laid out so you can follow it without guessing.
Early spring (before storm season builds)
- Inspect the bottom seal and weatherstripping for cracking, flattening, or gaps. Replace anything that won’t seal against the floor.
- Lubricate hinges, rollers, and the torsion spring with a humidity-appropriate product (see the lubricant section below).
- Tighten every hinge and bracket bolt you can safely reach. Loose hardware is a failure waiting to happen.
- Test the opener’s safety reversal: place a small object in the door’s path and confirm it reverses. This is a safety test, not an adjustment, and it’s worth doing every spring.
- Photograph the full door, inside and out, including the seal and every panel edge. This is your baseline for the year.
Late spring to early summer (pre-hurricane prep)
- Do a full storm-readiness inspection of the bottom seal, side weatherstripping, and top seal. A storm-ready door depends on the seals as much as on the panels.
- Check the door’s balance: disconnect the opener and lift the door halfway. It should stay put. A door that drifts down on its own is telling you the springs are losing tension.
- Confirm your manual release works smoothly. You don’t want to discover a jammed release during a storm.
- Clear the tracks of grit and debris. Storm season means more door movement; clean tracks mean fewer jams.
- Update the photo log with a fresh set of images showing the door’s current condition before any storm.
Mid-summer (humidity peak)
- Re-check the lubricant on rollers and hinges. If it’s run off or turned sticky, clean and reapply.
- Look for any rust spots on hinges, tracks, or the bottom panel. Treat them early; rust spreads.
- Listen to the door as it opens and closes. New grinding, squealing, or banging sounds mean something changed.
Fall (post-storm season inspection)
- Inspect after any named storm or heavy wind event, even if the door still works. Panel warping, loosened bolts, and a shifted bottom seal don’t always announce themselves.
- Test the opener’s force and reversal again after storm season, especially if the door has been cycled heavily for boarding.
- Photograph any damage, no matter how small. Insurance documentation is easiest while the evidence is fresh.
Winter (the dry maintenance window)
- Deep-clean the tracks and lubricate everything that moves.
- Inspect and re-seal the bottom seal after the storm season’s wear.
- Tighten hardware one more time before spring.
- Do a full balance and safety test as you head back into the next cycle.
This calendar is the backbone of everything else in this guide. The individual tasks matter, but the timing is what keeps a repair from becoming a replacement.
Which Lubricants Work Here (and Which Make It Worse)
The single most damaging piece of maintenance advice floating around is “use a general-purpose grease or oil on all moving parts.” In Daytona Beach’s humidity, that approach backfires. Grease and oil attract grit, hold moisture, and turn into a grinding paste on your rollers and tracks. You end up accelerating the wear you meant to prevent.
What works in this climate:
- Silicone-based spray lubricant for tracks, rollers, and hinges. It goes on clean, doesn’t attract grit, and holds up better to humidity than oil-based products.
- White lithium grease for the torsion spring only. The spring is a high-friction, high-load part, and a light coat survives better than spray lubricant in the humid months. Apply sparingly; a thin film is enough.
- Dry or silicone-based lubricant on rollers rather than anything sticky. Nylon rollers especially benefit from silicone and will bog down with grease.
What to avoid:
- Heavy grease on any part exposed to air and grit. It becomes an abrasive trap.
- Oil-based sprays on tracks. Oil attracts dirt, and the track groove is a dirt magnet already.
- WD-40 (or any general-purpose penetrating oil) as a long-term lubricant. It’s a solvent, not a lasting lubricant. Fine for loosening a stuck bolt, poor for keeping a roller smooth.
Whichever product you use, apply it to the hinge pivot points, the roller bearings, and the torsion spring, then wipe off excess. A little goes a long way, and in Daytona Beach humidity, less is more. If a roller or hinge is already badly worn, lubricant won’t fix it; that’s a parts-replacement job.
Inspecting the Bottom Seal and Weatherstripping for Storms
Most homeowners think of the bottom seal as a draft blocker. In Daytona Beach, it’s a storm barrier and a moisture barrier at the same time. When it fails, water and humidity work their way up into the door’s lowest panel, and that’s where expensive damage starts. We’d rather you inspect it twice a year than find out after the panel’s already going soft.
What to check
- Sealing contact: close the door and look for daylight along the bottom edge. Any visible gap means the seal isn’t doing its job when wind-driven rain pushes water toward the door.
- Cracking or stiffening: run a hand along the seal. It should flex. If it feels hard, brittle, or rough, it’s aged out.
- Flattening: a seal that’s been compressed against the floor for a long time can flatten to the point where it no longer springs back.
- Side weatherstripping: this is often ignored. Check the vertical strips along the door jambs for gaps, tears, or sections that have pulled away.
- Panel bottom edge: inspect the very bottom of the door panel where it meets the seal. Soft spots, bubbling, or discoloration mean moisture has already gotten in.
What “storm-ready” actually means
A storm-ready door isn’t just one that closes. It’s one where every seal holds against wind-driven rain, where the door sits flush without rattling in gusts, and where hardware is tight enough that high winds won’t flex the panels. If your door rattles in a strong breeze, that’s a warning sign, not a personality quirk.
If you find the seal is already gone, we can help with that as part of a broader garage door repair visit and inspect the panels at the same time. A worn seal caught early is a simple fix. Caught late, it’s a panel replacement.
Spring Lifespan Benchmarks for Storm-Boarding Households
Torsion springs are rated by cycles, not years. A standard torsion spring is commonly rated somewhere in the range of ten thousand to fifteen thousand cycles, where a cycle is one open-close pair. For a household that uses the door a few times a day, that rating translates to years of service. But coastal homeowners who board up for storms put a very different kind of load on their springs.
Here’s how the pattern plays out:
- Baseline use: a few cycles a day, most days of the year, uses the spring at its rated pace.
- Storm-season spikes: boarding and un-boarding, often several times in a season, adds concentrated cycle bursts. Each board-up is multiple cycles in a short window.
- Idle stretches between storms: the spring sits static, but humidity doesn’t take a break. Springs that are near the end of their life and sitting under humidity stress are more likely to fail on the next cycle than during the idle stretch.
What this means practically is that a spring that would comfortably last a household in a mild inland climate may reach the end of its safe life sooner here. The benchmark you should track is behavior, not years:
- Does the door feel heavier when you lift it manually?
- Does it drift down when left halfway?
- Do you hear a sharp pop or bang when the door moves?
- Is the door failing to open all the way, or reversing mid-travel without a blockage?
Any yes on those questions means it’s time to have the spring inspected by a professional, not to keep using the door until it fails. This is one of the most commonly mishandled and most dangerous garage door repairs, so it’s a job for someone who works on springs as a dedicated part of their trade. Our garage door spring repair handles the full job, including matched pair replacement when both springs are near the end of their life.
If you’ve just come through a storm season with a lot of boarding cycles, it’s worth asking for an inspection even if nothing feels wrong yet. Springs give warnings; you just need someone who knows how to read them.
Building a Photo Log for Insurance and Repair History
This is a simple habit that pays off in two situations: when you need to prove the condition of your door for an insurance claim after a storm, and when you want to make sure a repair quote is based on what’s actually wrong with your door. Both matter, and both are easy to get ahead of.
How to build the log
- Set up a dedicated folder. On your phone or in a cloud drive, name it “Garage Door Log” and keep every photo in one place.
- Take a baseline set. Full exterior shot, full interior shot, close-up of the bottom seal, close-up of the torsion spring and opener, close-up of the tracks and hinges on both sides.
- Date every photo. Most phone cameras do this automatically, but note the date in the file name so it survives a transfer.
- Photograph before and after every storm. The pre-storm photo is your evidence of condition; the post-storm photo is your evidence of any change.
- Add every repair to the log. Each time a technician visits, photograph what was replaced and keep the written estimate in the folder. You’re documenting the door’s history, not just its condition.
- Photograph small damages immediately. A scratch or ding that looks cosmetic after a storm can be evidence later if the panel fails or a claim gets questioned.
Why it matters after a hurricane
Insurance claims on garage doors are strongest when the homeowner can show what was there before the storm. A photo log with dated entries tells the story clearly: here’s the door in good shape in May, here’s the same door after the wind event in September. Without that, a claim can become a back-and-forth about whether the damage was pre-existing. The log is also useful to the technician who inspects the door; photos of prior repairs tell them what to look at first.
The Hardware and Opener Checks Most People Skip
Seals and springs get the attention. Hardware and the opener get skipped, and both fail in ways that are entirely preventable. Here’s what to check on a schedule.
Hardware
- Hinges: loose hinge bolts are common and easy to miss. Use a socket wrench and check every hinge you can reach with the door closed. Don’t over-tighten; snug is enough.
- Rollers: worn rollers develop flat spots and cause the door to grind or jump in the track. Nylon rollers last longer than steel but still need periodic inspection.
- Track alignment: look down the length of each track from the foot of the door. It should be straight. Any visible bend means the door is catching where it should be rolling.
- Cables: visually check for fraying, kinks, or slack. Cable inspection is fine; cable work is not a homeowner job (more on that below).
- Bolts on the opener rail: check the rail connection to the door and to the opener body; these loosen over time.
The opener
- Safety reversal test: the most important opener check you can do. Object in the door’s path; the door reverses. Test it every spring and after every storm season.
- Force setting: force is how hard the opener pushes before it gives up. If the door has started needing more force to move (stiff rollers, failing spring), the opener may be over-straining. Don’t increase force to compensate for a mechanical problem; that’s a symptom, not a fix.
- Remote and keypad batteries: the simplest of all, and the most common cause of “the opener isn’t working” calls. Change them yearly, and keep a spare in the photo log folder.
- Photo-eye alignment: the small sensors at the base of the tracks need a clear line of sight to each other. Wipe them clean and check they aren’t knocked out of alignment.
If the opener itself is failing (inconsistent travel, flashing error codes, or a motor that runs but doesn’t move the door), that’s a job for someone familiar with the specific unit. We work on units from Genie, LiftMaster, Chamberlain, Craftsman, and the rest of the major brands, so the correct part and procedure comes with the visit rather than a second trip. You can read more about that side of the work on our garage door opener repair page.
What You Should Never Inspect or Adjust Yourself
Most of this checklist is safe for a homeowner. A few parts are not, and it’s worth being clear about which ones. Torsion springs and the cables that run them are under extreme tension, and the energy stored in them can release suddenly with enough force to cause serious injury. That’s true on a door that looks completely normal and it’s true on a door that’s sitting still.
What that means in practice:
- Torsion springs: inspect visually from a distance. Don’t try to wind, unwind, or replace one.
- Cables: check for visible fraying from a distance. Don’t touch them, and don’t try to re-seat a cable that’s come off its drum.
- Opener adjustments to force or travel limits: small adjustments look harmless, but an over-tightened force limit removes the safety benefit of the reversal test. Leave the settings alone unless you know what the manufacturer’s spec is.
- Any part under tension: if the part moves under a load, it’s not a homeowner job.
If your inspection turns up a problem in any of these areas, the next step is a professional visit, not a YouTube tutorial. Our technicians have up to 9 years of experience and know exactly which part of a spring system is under load and which isn’t. That’s the knowledge that keeps repairs safe.
Common Mistakes to Avoid
- Using generic grease on everything. It attracts grit and holds moisture in Daytona Beach’s humidity, so it protects nothing and accelerates wear on rollers and tracks. Use silicone spray on moving parts and white lithium on the torsion spring only.
- Following a winter-focused maintenance routine. Freeze warnings and snow-load advice don’t apply here. Time your work around storm season and the humid stretch, not a northern winter.
- Ignoring the bottom seal until the panel rots. The seal is the cheapest part on the door and protects the panel, which is one of the most expensive. Inspect it twice a year, and replace it when it stops flexing.
- Increasing opener force to compensate for a stiff door. If the door needs more force to move, the problem is in the door (springs, rollers, tracks), not in the opener. Raising force just masks the symptom and removes a safety margin.
- Skipping the post-storm inspection. Storm damage often shows up as a slightly warped panel or a loosened bolt, not a dramatic failure. It’s cheaper to catch that on inspection day than to notice it when the door jams three weeks later.
- Not keeping a photo log. When an insurance claim comes up, the homeowner with dated photos of the door in good condition has a much easier time than the one trying to describe it.
- Letting a worn seal go through a second storm season. The cost of a new bottom seal is small compared to the panel replacement it may prevent. Replace it once it’s no longer doing its job, before the next season starts.
See the difference
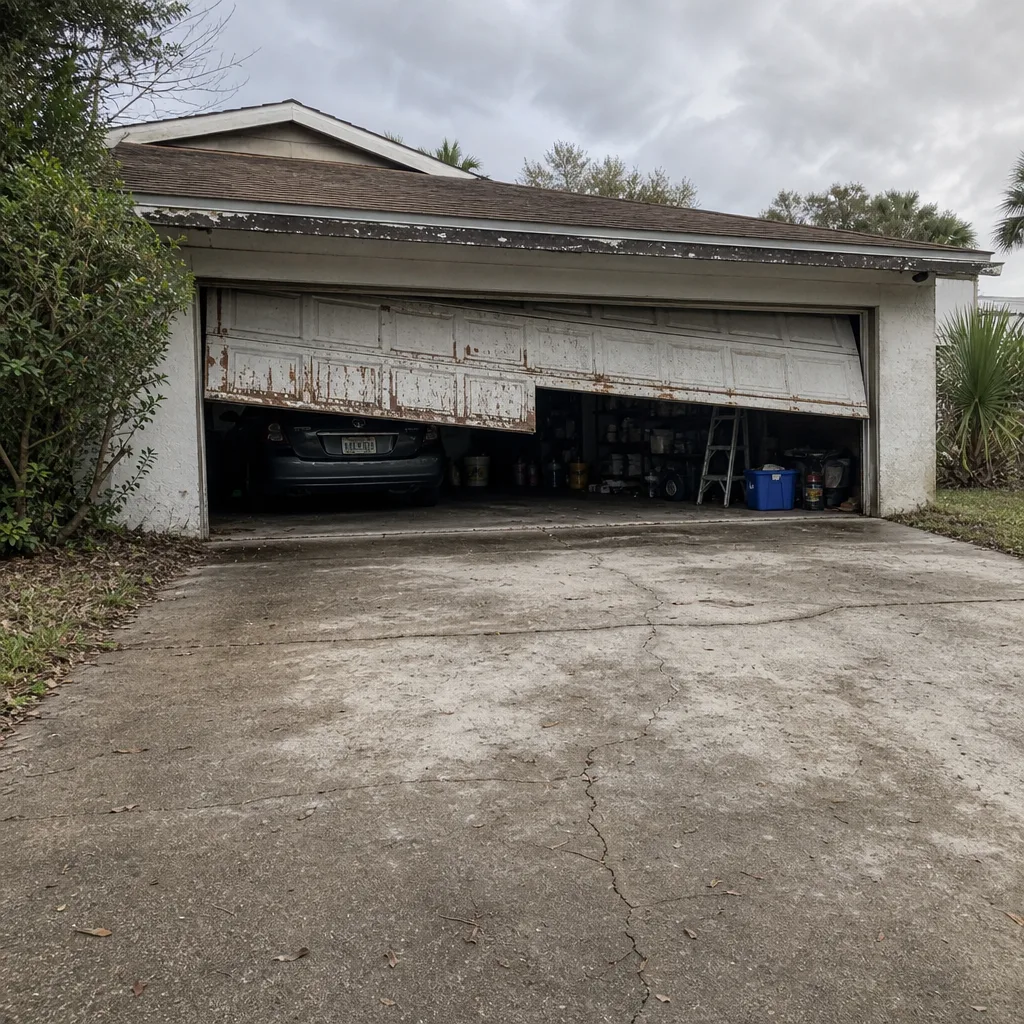 Before
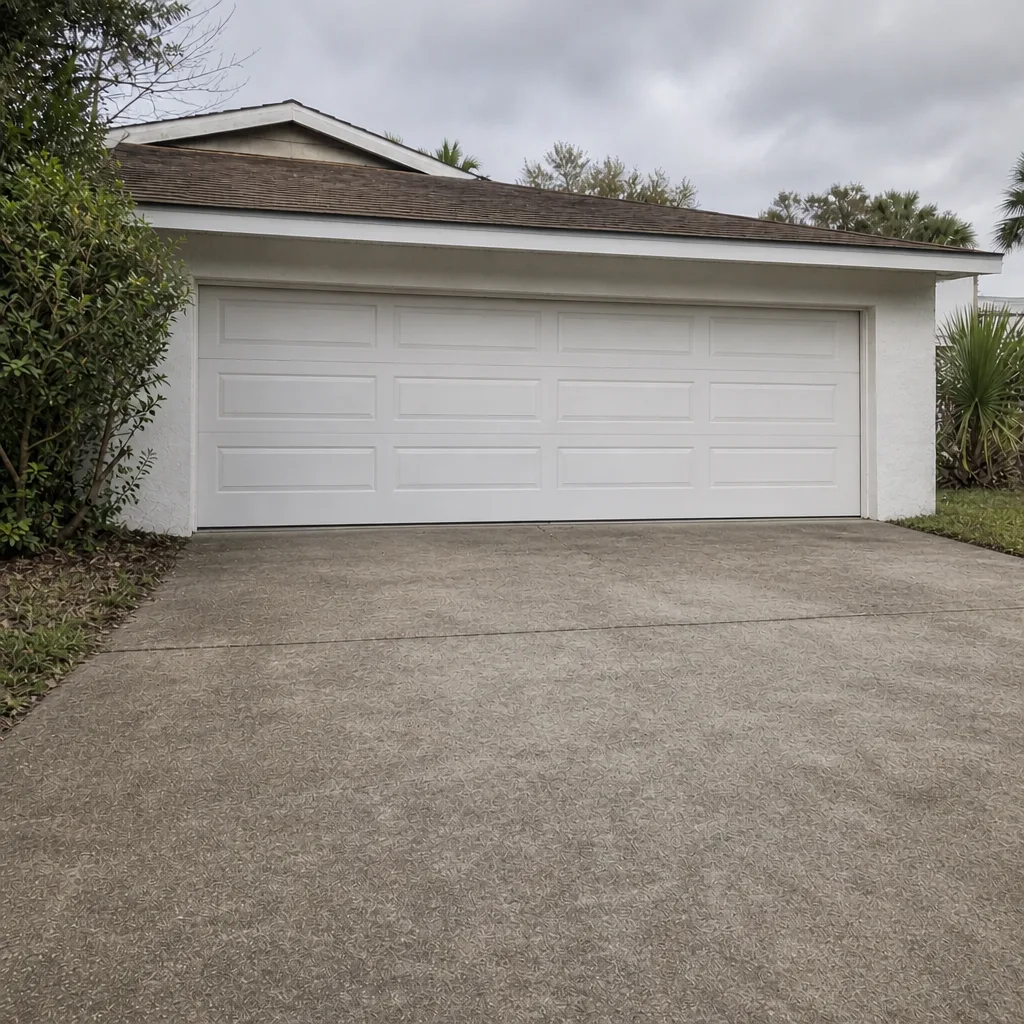 After
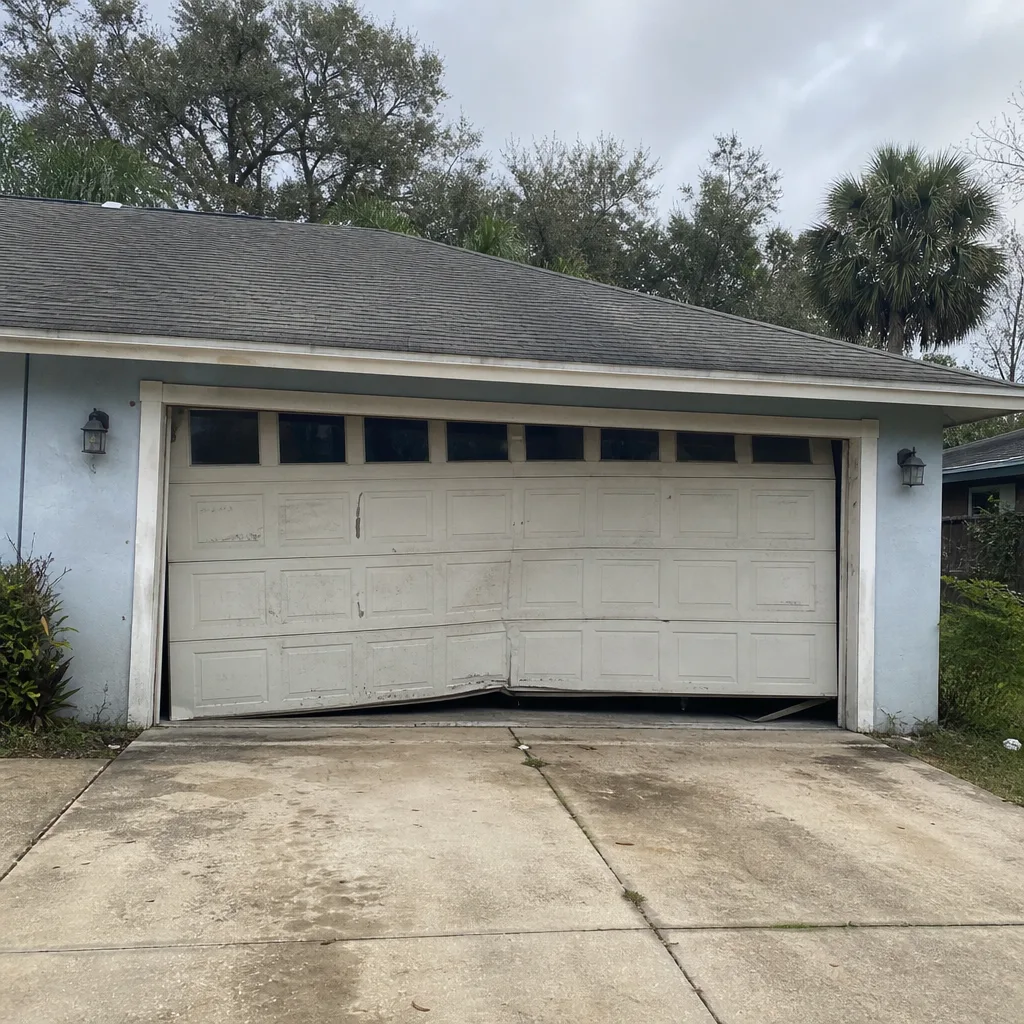 Before
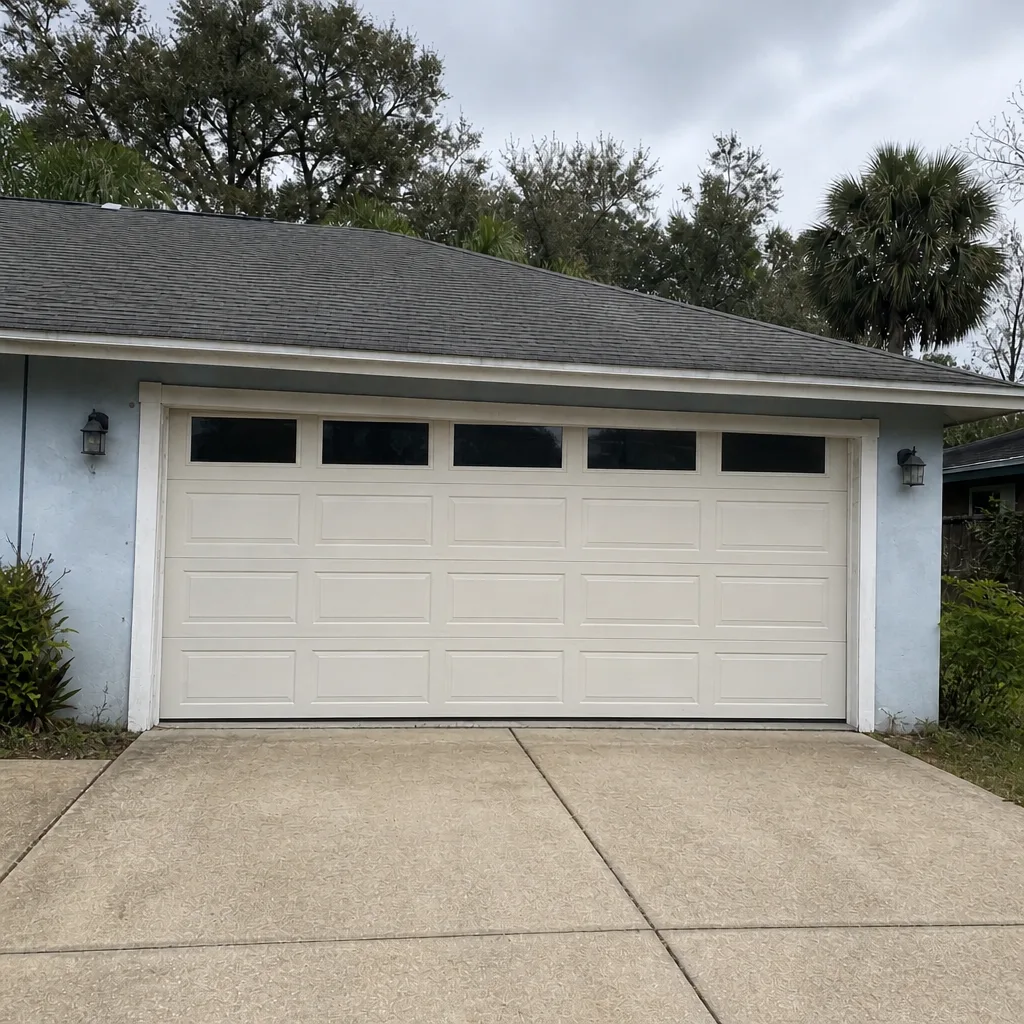 After
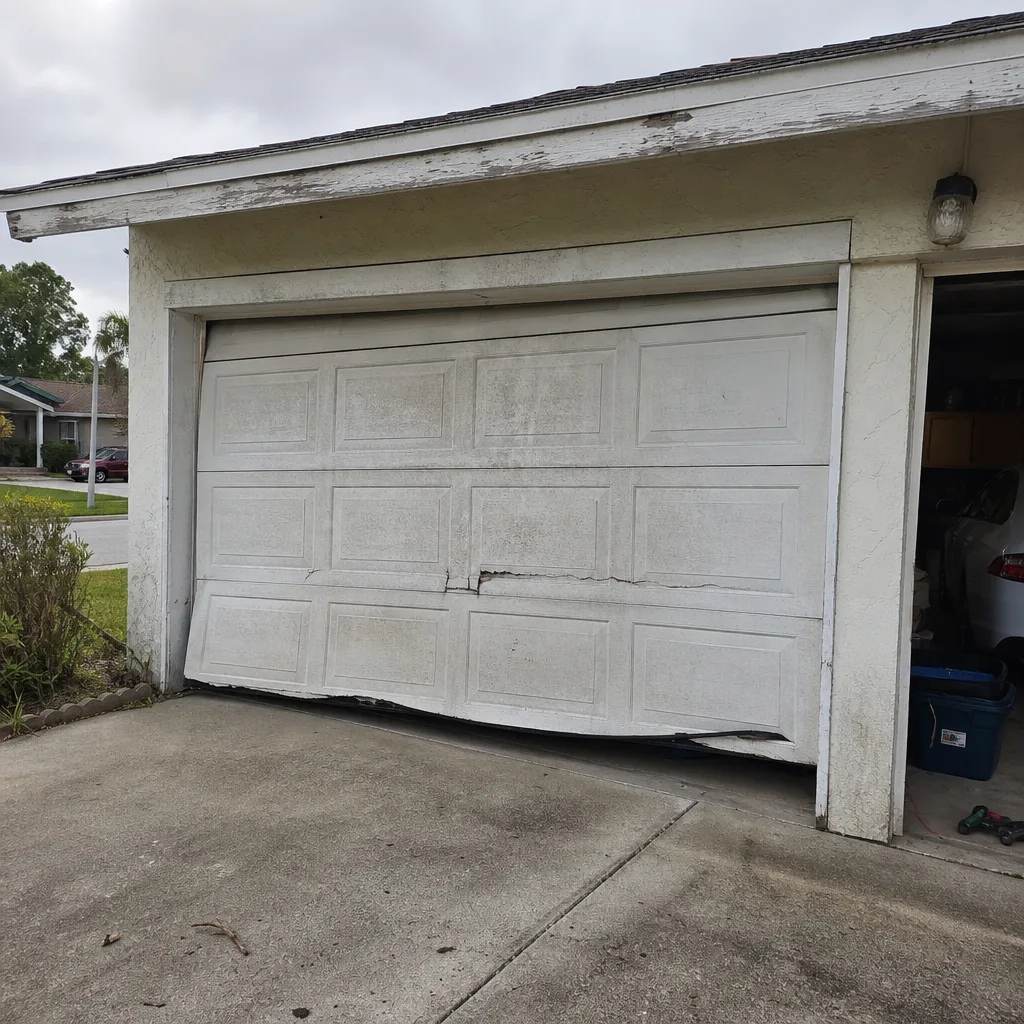 Before
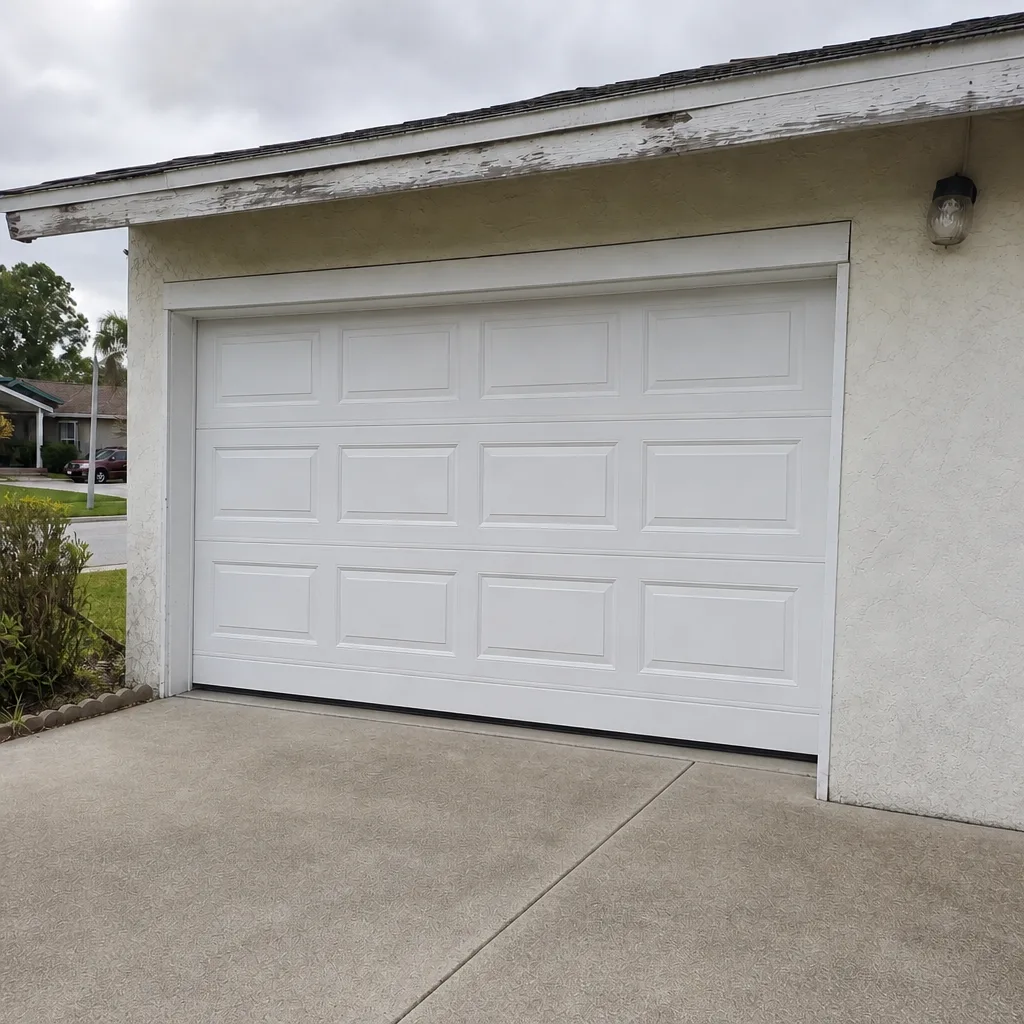 After
When to Call a Professional
Most of the checklist is safe for you to do yourself. A few scenarios aren’t, and those need a call rather than a closer look. Call us if: a spring has snapped, or the door pops or bangs when it moves; a cable is frayed or off its drum; the door is off its track or visibly bent; the opener runs but the door doesn’t move; the door reverses or won’t close all the way; or a panel has cracked or warped after a storm. Also call if your inspection turns up moisture damage at the bottom of the door that’s spread into the panel. Those are the cases where a small repair gets more expensive the longer it sits. Daytona Beach Garage Door Repair Pros offers free estimates in Daytona Beach, and we work on all the major brands. Experience with your specific system means the correct part the first time, not a second appointment. If you’re not sure whether a problem is a call or a checklist item, describe it and we’ll tell you straight.
Frequently Asked Questions
Twice a year is the minimum, but around Daytona Beach the humid months may need an extra pass. Check the rollers and hinges in mid-summer especially; if the lubricant has thinned out or turned sticky, clean it off and reapply a silicone spray. The torsion spring should get white lithium grease rather than silicone. If you’re between passes and the door starts squealing, that’s the signal to go again.
If it feels hard instead of flexible, if you can see daylight along the bottom edge when the door is closed, or if the seal has flattened out against the floor, it’s time for a new one. In Daytona Beach, seals age faster than most homeowners expect because the humidity and heat work on them year-round. Replace it before storm season rather than after; that’s when it’s actually needed.
No. Torsion springs and the cables that run them are under extreme tension, and a sudden release can cause serious injury even on a door that looks stable. Have them inspected from a distance during your checklist, but leave the replacement to a professional. This is the single most dangerous part of garage door work, and it’s a job for someone who does it routinely.
Springs are rated in cycles rather than years, and a standard spring is commonly rated between ten thousand and fifteen thousand cycles. In Daytona Beach, storm-boarding adds concentrated cycle bursts every season, so the spring may reach the end of its useful life sooner than it would for a household with steady, lower-cycle use. Track behavior – heaviness, drifting, popping – rather than the calendar.
Inspect the bottom seal, the side weatherstripping, and every panel edge for warping, cracking, or moisture damage, and photograph all of it for your log. Test the opener’s safety reversal, listen to the door as it moves, and check the hardware for loose bolts. If the door still works but rattles or looks slightly off, that’s still worth a professional inspection; storm damage often shows up before it causes a failure.
Yes, and specifically at the bottom seal and lower panel. Humidity settles near the floor and works on the parts closest to it, which are the ones that protect the door panel underneath. A seal that fails lets moisture creep upward, and the damage isn’t visible until the panel has already started to go soft. That’s why bottom seal inspection is twice a year here and not optional.
If you’d rather have a professional do the full inspection, our team in Daytona Beach covers doors, openers, springs, and full installation, so a repair that turns into a replacement stays with one professional. Call (866) 937-7159. We answer 24/7. Fast dispatch from 7am to 7pm, Sunday through Friday.
The Bottom Line
A garage door maintenance checklist for Daytona Beach has to be built around our climate and our storm season, not a generic yearly routine. The bottom seal is your first line of defense, and inspecting it twice a year protects the panel beneath it. Use the right lubricants for the humidity; avoid grease and oily sprays that turn into grit. Track your springs by behavior, not years, and expect storm-boarding to wear them faster. Keep a dated photo log so you’re never guessing about condition when a claim comes up. And when the checklist turns up spring, cable, or track problems, leave those to a professional. Get that routine in place, and most emergency calls never happen.
If you’d rather have a trained eye run the checklist – or you’ve found something that needs fixing – call Daytona Beach Garage Door Repair Pros at (866) 937-7159 for a free estimate. We work on LiftMaster, Chamberlain, Genie, Clopay, Amarr, Wayne Dalton, Craftsman, and Raynor equipment, and we cover the whole system so you don’t have to call a second company mid-repair. Call (866) 937-7159. We answer 24/7. Fast dispatch from 7am to 7pm, Sunday through Friday.
Written by the team at Daytona Beach Garage Door Repair Pros.